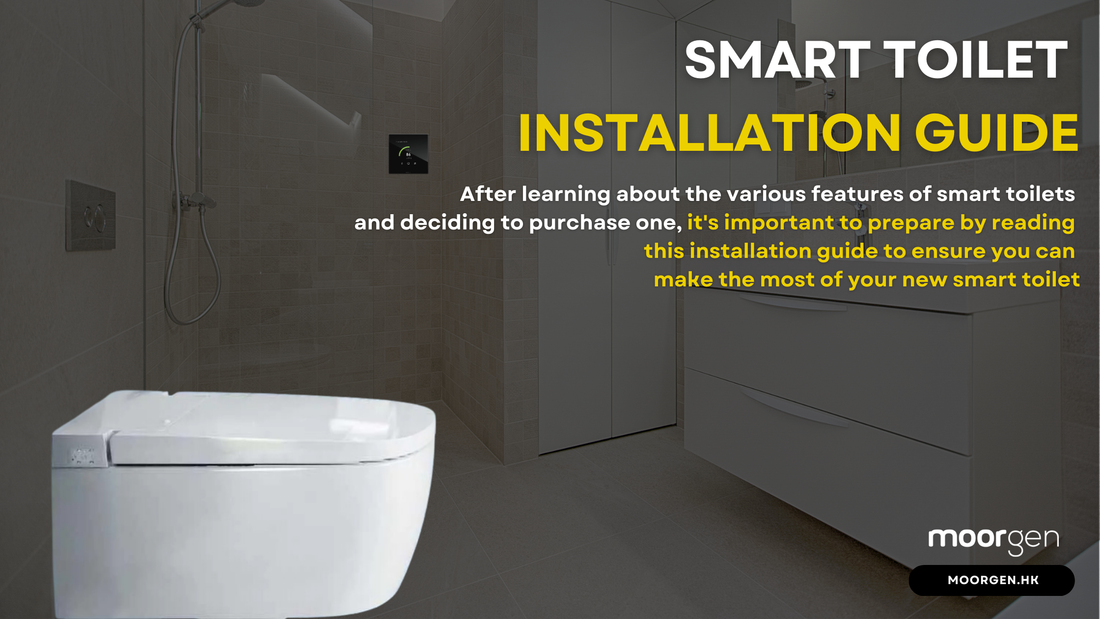
Smart Toilet Installation Guide
After learning about the various features of smart toilets and deciding to purchase one, it's important to prepare by reading this installation guide to ensure you can make the most of your new smart toilet.
Key Highlights of This Article:
- Basic functions of a smart toilet
- Tools needed for installation
- Installation Tip 1: Power outlets and distance
- Installation Tip 2: Toilet types
- Installation Tip 3: Distance from the toilet to the wall
- Installation Tip 4: Toilet dimensions
Basic Functions of a Smart Toilet
The most popular features of smart toilets include heated seats, bidet functions, and automatic lid opening/closing. They come in various types such as instant heating, storage heating, with or without a tank. To enable washing and cleaning functions, a fresh water supply is necessary. When installing a smart toilet, you need to connect an additional fresh water pipe to the tank and an electrical source for the heating functions.
Tools Needed for Installation
Installing a smart toilet and connecting the water tank and pipes doesn’t require overly complicated tools. Generally, a flathead and Phillips screwdriver, a wrench, and possibly a water pump will suffice. An electric drill can also be helpful for drilling holes and securing screws.
Installation Tip 1: Power Outlets and Distance
Most smart toilets are powered by plug-in cords, but due to the high humidity in bathrooms, extension cords are not recommended as they can lead to short circuits or fires. Smart toilet cords are usually one meter long, so the ideal distance between the toilet and the outlet should be within 0.8 meters.
Installation Tip 2: Toilet Types
Smart toilets are widely used in Japan, and many models are made there. However, be aware that most Japanese-made smart toilets are not waterproof, which can be a problem if your bathroom does not have a separate wet and dry area. Additionally, there are multiple water tank configurations including separate tank and toilet body designs, corner tank styles, single-unit designs, concealed tanks, and fully automatic models. Ensure that the toilet you choose is compatible with your bathroom space.
Installation Tip 3: Distance from the Toilet to the Wall
Smart toilets come in various designs, including wall-mounted models. Measure the toilet’s dimensions and consider the space it will occupy once installed. Ensure there is enough room for the remote control and to replace the deodorizing filter. For models with a wireless remote, a distance of 260 mm is sufficient for installation.
Installation Tip 4: Toilet Dimensions
Different toilets have different dimensions and installation requirements. For example:
- Long-type toilets have a bowl diameter of 355-380 mm and seat length of 470 mm.
- Short-type toilets have a bowl diameter of 320-350 mm and seat length of 440 mm.
- European-style toilets have a more square-shaped bowl with a diameter of 310-330 mm and a seat length of 420 mm.
Each type has two installation holes for the seat, spaced 140 mm apart for long and short types, and 155 mm apart for European styles.
After reading this Moorgenzine article, you should have a better understanding of how to install a smart toilet. If you have any questions, feel free to contact Moorgen. Additionally, if you want to experience the benefits of smart home technology firsthand, visit Moorgen's showroom in North Point, Hong Kong, and discover true smart living.
![[Smart Living] How to Choose a Smart Power Strip? Swift Transform Your Home into a Smart Home!](http://moorgen.hk/cdn/shop/articles/blog_cover_moorgen_how_to_choose_smart_power_strip.png?v=1728137093&width=533)
![[Smart Living] How to Choose LED Bulbs? Which Ones Are the Most Energy-Efficient?](http://moorgen.hk/cdn/shop/articles/blog_cover_moorgen_how_to_choose_led_bulbs.png?v=1728136975&width=533)
![[Smart Living] How to Choose an Instant Hot Water Dispenser and Use It Efficiently?](http://moorgen.hk/cdn/shop/articles/blog_cover_moorgen_how_to_choose_instant_hot_water_dispenser.png?v=1728136837&width=533)
![[Smart Living] 5 Energy-Saving Tips for Electric Kettles](http://moorgen.hk/cdn/shop/articles/blog_cover_moorgen_energy_saving_tips_electric_kettles.png?v=1728136710&width=533)